Air leakage sounds like a minor comfort issue, a draught near a window. In a building it is bigger than that. Air that moves uncontrolled through the envelope carries heat, moisture, dust and noise with it, and it makes mechanical systems work against a moving target. Facade specifications therefore ask for an air leakage test. This article explains what that test actually measures, so a report can be read sensibly.
What air leakage is
Air leakage is air that passes through the envelope where it is not meant to. It travels through gaps at frame joints, between sash and frame, around glazing, through service penetrations and at the junction between a facade and the structure. It may flow in or out depending on pressure differences caused by wind, stack effect and mechanical ventilation.
Designers use the term air infiltration for air entering and exfiltration for air leaving, and the same gaps are usually responsible for both. Reducing leakage does not mean sealing the building completely. It means that the air which enters is the air the building chooses to bring in, through designed ventilation, not through accidental paths.
Why it matters
Leaky envelopes waste energy because conditioned air escapes and unconditioned air takes its place. They can cause draughts, whistling and discomfort near openings. They carry noise, so a facade chosen for acoustic performance can fail because of small gaps. And in humid weather, warm moist air passing through a gap can reach a cooler surface and condense inside the wall.
Moisture is the quiet risk. Condensation inside a wall or at a frame can stain finishes and damage materials without ever showing as a visible leak. The link between air movement and condensation is covered in condensation on windows and facades. An airtight, well-drained envelope protects both comfort and the building fabric.
What the standard test does
A laboratory test such as ASTM E283 places a window or facade specimen in a chamber and creates a pressure difference across it. A measuring device records how much air flows through the specimen at a specified pressure. The result is an air leakage rate, often expressed per unit area or per length of joint, which can be compared against the project requirement.
The key words are specimen and specified. The test describes one sample, built and sealed in a known way, under a set condition. It does not describe the entire building. It does not describe the weathering of seals after years of use, and it does not include the joint between the frame and the wall. Treat the result as a comparison between systems, not a promise about the finished envelope.
Reading a test report
A useful report identifies the exact specimen: its size, its configuration, the profile system, the glazing, the gaskets and the seal details. It states the pressure used, whether the test was run with air flowing in one direction or both, and what the measured rate was. It names the laboratory and the standard version.
Compare the tested specimen with your installed wall. A small fixed light does not represent a large sliding door or a tall unitised panel. If your design has operable vents, corner joints or stack joints that the sample did not have, ask how those are covered. A report for a similar system is a guide, not proof. For the structure of related tests, see testing and standards.
What affects the result
- The type and continuity of the gaskets around glass and sashes.
- How corners and meeting points of the frame are sealed.
- Hardware on opening windows, which must close evenly and compress the seal.
- Quality of fabrication, including mitres and cut ends.
- The way the specimen is mounted in the test chamber.
- Ageing of seals, since rubber can harden, shrink or take a set over time.
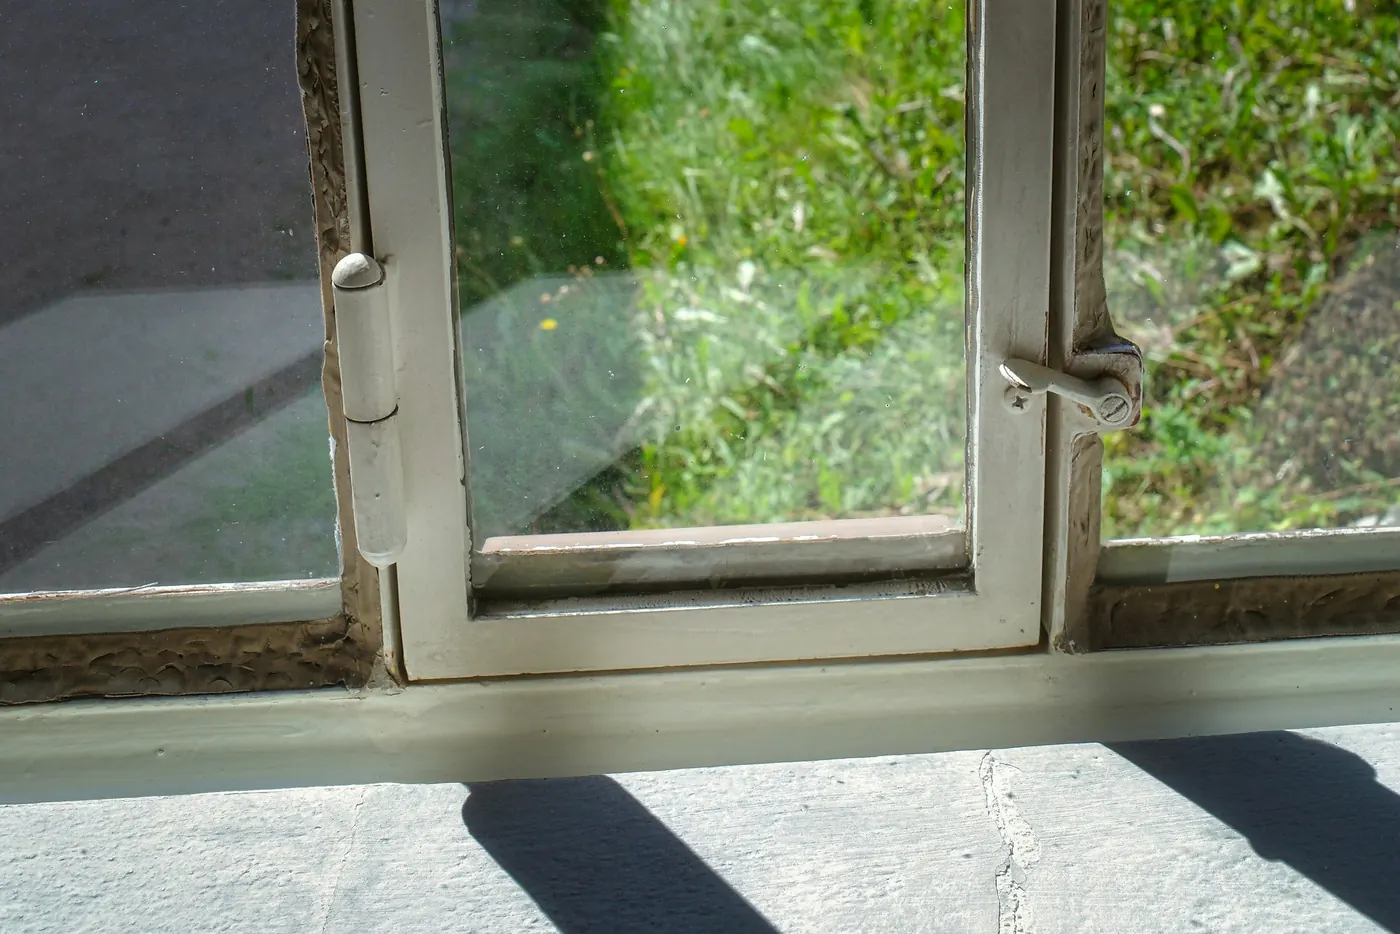
Opening units leak more easily than fixed ones because they have a moving seal. A well-fitted compression gasket and consistent hardware pressure keep that seal working. Check that the chosen hardware closes the sash against the gasket along its full length and that the system can be adjusted on site if needed.
The installation joint is where leakage hides
Many leakage problems occur where the facade meets the structure or another element, not in the facade itself. The perimeter joint around a window, the slab-edge closure of a curtain wall, service penetrations and corners are common places. A system can perform well in a laboratory and leak at an untidy interface.
Detail the continuity of the air barrier from wall to frame, and coordinate who installs which part. Check the interface on the shop drawings and inspect early installed units before repeating them. The same attention to sealing helps with water, covered in window drainage and weep holes, because air and water paths often share the same gaps.
Field checks and what they add
A field test applies a pressure difference to a part of the installed facade and measures the airflow. It checks the real installation, including workmanship and interfaces. Methods and acceptance levels are set by the specification and the facade consultant. Field tests are often run on a mock-up first, then on selected areas of the building.
Early field checks catch faults while they are cheap to fix. A mock-up that is tested before mass production lets the team improve a detail once instead of everywhere. The process is explained in the article on facade mock-up review. Record the test conditions and results, and keep the approved details as the benchmark for the rest of the work.
Three separate tests, and why sites still leak
Air leakage is only one of the standard tests a facade sample is put through. Water resistance, covered in what ASTM E331 tests, and structural performance under pressure, measured by ASTM E330, ask different questions. A sample can do well on one and poorly on another, so read each result on its own terms.
They are also usually run in a sequence on the same specimen, so a failure in one stage can affect the next. If a report is offered, check which tests were run, in what order, and whether the sample was repaired or adjusted between them. A single headline figure rarely tells the whole story, and a document that lists all three gives a fuller picture.
Most field leakage traces back to a small number of causes. Gaskets may be stretched during installation, so they shrink back and open at the corners. Hardware may be out of adjustment, so a sash does not press evenly. Sealant may have been applied over dirt or in the wrong gap, and tape or foam at the perimeter may be missing or torn by later trades.
Services are another common source. Pipes, cables and fixings that pass through a facade or its closure often lack a sealed collar. Brief every trade on the airtight line and mark it on drawings, so that nobody drills through it by habit. Inspection before finishes cover the joint is far cheaper than opening a finished wall to find the gap. Photograph each sealed joint before it is covered, so there is a record of what was done and by whom.
Questions to ask a supplier
- Which standard and which laboratory were used for the test report?
- How does the tested specimen compare with the sizes and types in my project?
- Which gasket type and corner-sealing method does the system use?
- How does the system connect to the wall's air barrier at the perimeter?
- Can operable units be adjusted on site if the seal is uneven?
- What field checks are proposed during installation?
Ask for the answers in writing and compare them with the specification and the casement window or curtain wall package you are buying. Never claim or accept a performance result without seeing the report it comes from and the sample it describes, and keep that report in the project file for later reference by the whole team. Put these points in the brief at the start, so every bidder prices the same scope and nobody discovers a missing requirement after the order has been placed.
General guidance for orientation, not a specification. Applicable standards, values and details are confirmed per project with the facade consultant.