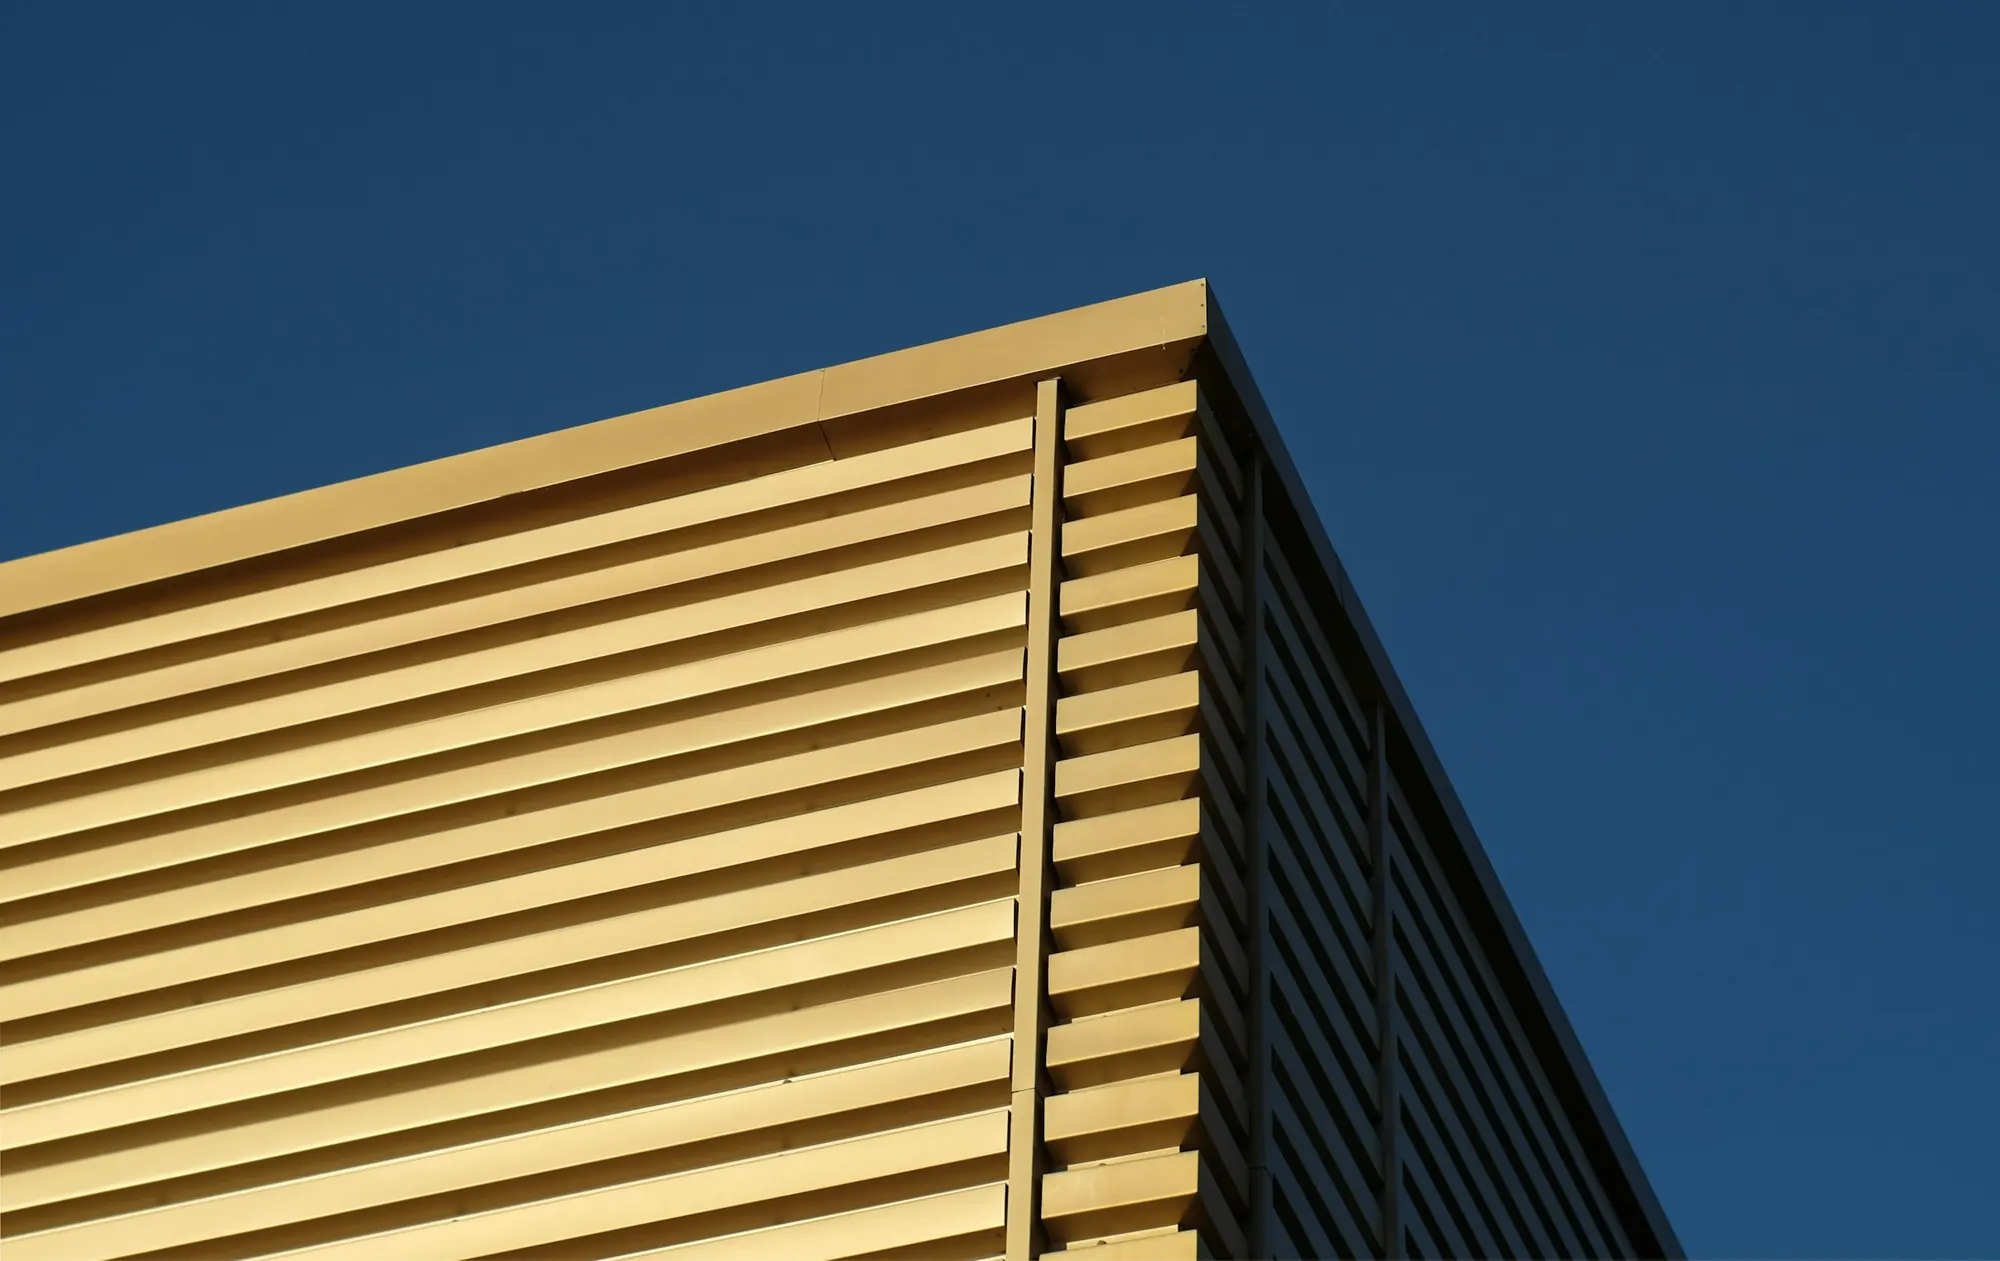
Most cladding is judged by the panel: its colour, its flatness, the crispness of its joints. A rain-screen is judged by the layers behind it. The panels are the first defence against rain, but the gap behind them does much of the work, and it is the part that disappears from the drawings as the project goes on. This article explains what that gap is, why it exists and what needs to be right for it to do its job.
The layers, from inside out
- The structural wall of the building, concrete or masonry.
- A water and air barrier on that wall, which is the building's real weatherproofing layer.
- Insulation, commonly mineral wool, held against the wall.
- A sub-frame of brackets and rails, fixed back to the structure through the insulation.
- A ventilated gap, called the cavity.
- The outer panels, fixed to the sub-frame.
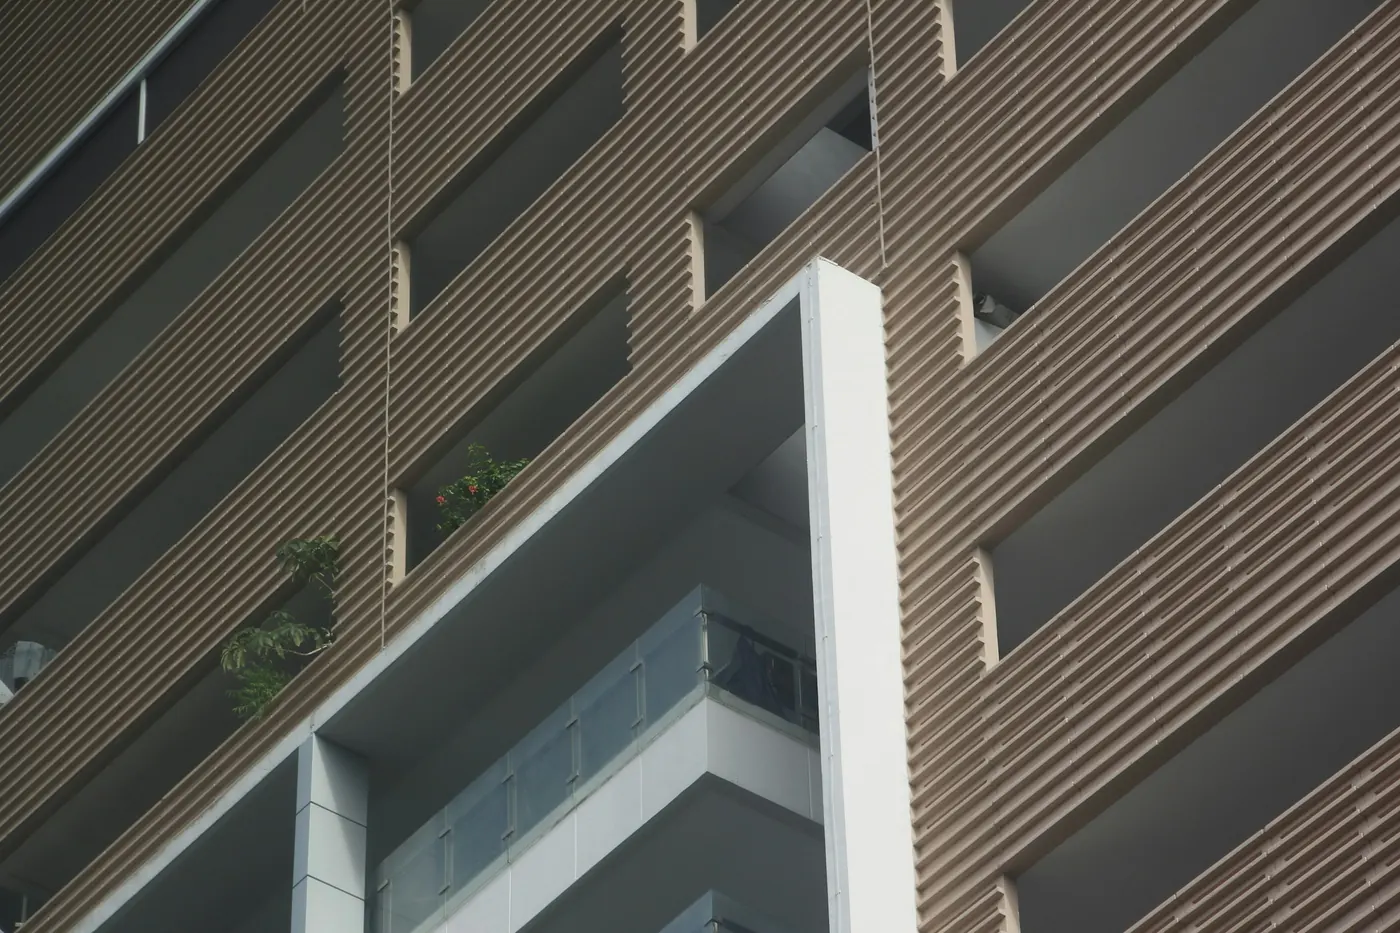
What the gap does
The outer panels shed most of the rain, but they are not watertight, and they are not meant to be. Wind pushes a little water through the joints. In a rain-screen that water has nowhere to go but down the back of the panels, where it drains out at the base or dries. The moving air in the cavity carries away moisture and heat, so that the insulation and the wall stay dry.
Two things are happening at once. The cavity drains liquid water, and it ventilates away water vapour. Both matter. A wall that is repeatedly wetted and never dries loses insulating value, can grow mould and corrodes metal fixings. A wall that dries quickly after every shower stays healthy for decades.
Open joints let the air pressure in the cavity follow the pressure outside, which reduces the force driving water inwards. This is called pressure equalisation. Closed joints with a shadow gap give a different look but rely more on the seal at the panel edge. Either way, the cavity stays open to the air at the bottom and top.
Open joint or closed joint
Look
- Open joint
- Visible gaps between panels, with a dark void behind. A strong, layered appearance.
- Closed joint
- A tighter, more continuous surface, with a shadow gap or a sealed joint.
How it handles water
- Open joint
- The pressure in the cavity follows the outside, so less water is driven in. What gets in drains behind the panel.
- Closed joint
- The joint resists most of the water. Water that passes is drained from the cavity as before.
What sits behind the gap
- Open joint
- The water barrier and the insulation face are seen through the joints, so they need to be durable and dark, or covered by a membrane that is rated for exposure.
- Closed joint
- Less is visible, so the choice of barrier is less critical for appearance, though it still matters for performance.
Tolerance
- Open joint
- Needs accurate alignment because gaps are seen.
- Closed joint
- A little more forgiving if the joint is detailed with a seal or an overlap.
Details that decide whether it works
- Cavity depth and the openings at the base and top, so that air can actually move. A cavity blocked by a fixing, a mortar bridge or a poorly placed insulation board does not ventilate.
- Brackets that do not carry heat straight through the insulation. Thermally isolated brackets limit this.
- Cavity fire barriers. On multi-storey buildings the cavity must not become a chimney. The facade consultant and local rules decide where barriers go, and they must be installed to a standard that lets the cavity still drain.
- Anchorage. Brackets must be fixed into a wall that can hold them, and pull-out tests on site confirm it.
- Adjustability. The sub-frame must take up the tolerance of the real structure, so the panels line up. Slotted brackets and shims are not a sign of poor work; they are how a rain-screen absorbs an imperfect wall.
- Fixings and materials. Metals in contact must not cause galvanic corrosion, and fixings must suit the environment.
Movement
Metal panels expand and contract with temperature, and a dark panel in the sun can run far hotter than the wall behind it. The joint pattern, the fixings and the sub-frame must let the panels move without buckling, rattling or tearing at their fixings. Fixed points and sliding points are laid out deliberately, so that the movement goes where it is designed to go. See Movement joints for the wider principle.
Choosing the panel
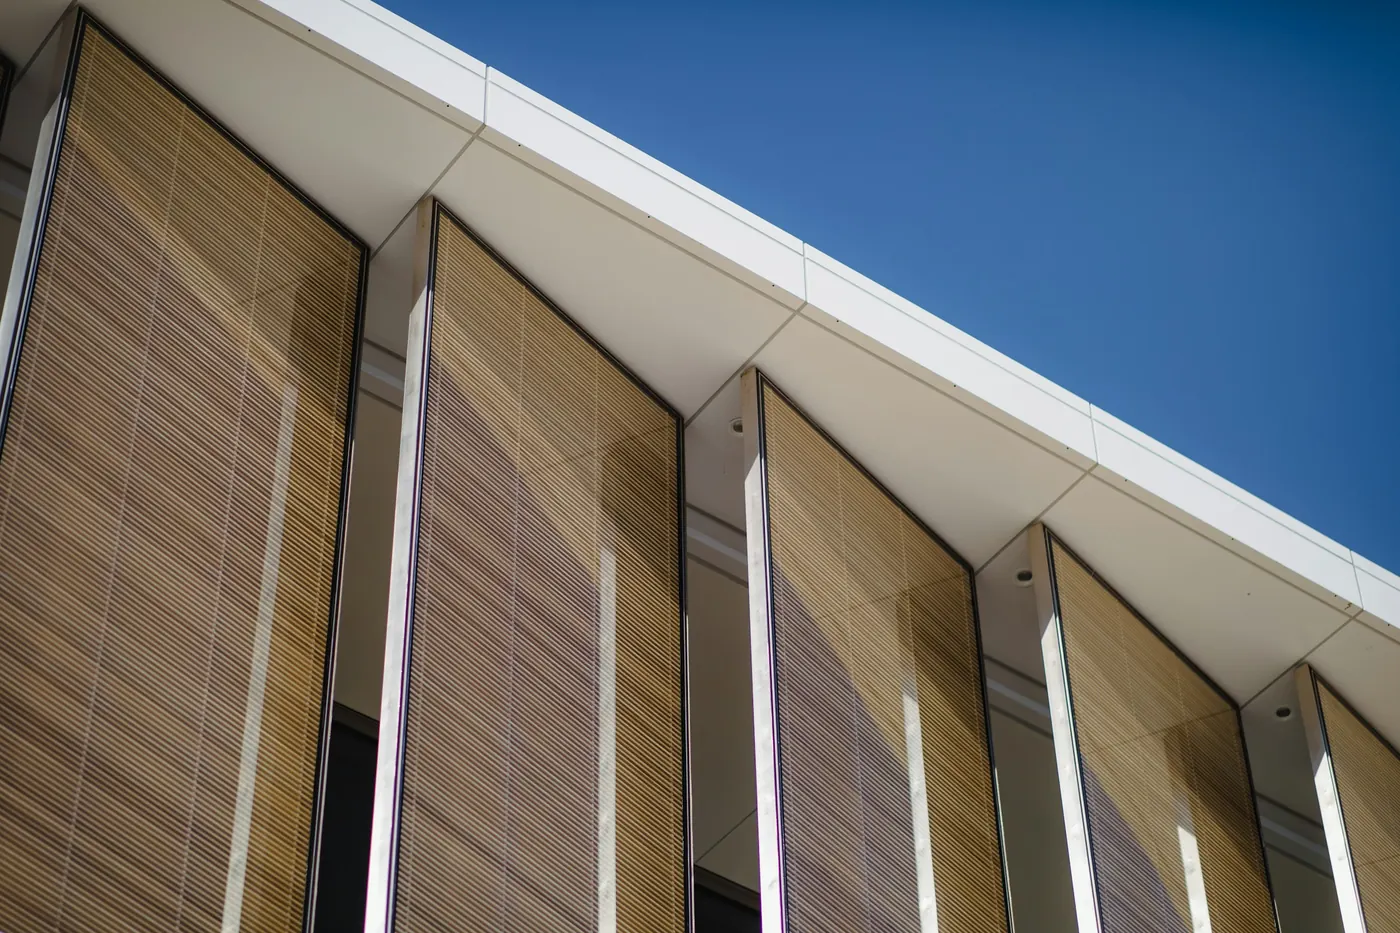
The same system takes different panels: ACP, solid aluminium, HPL, terracotta or stone, over insulation. The choice is mostly about look, weight and fire performance, and each panel has its own fixing method: concealed fixings give a clean face, and visible fixings are quicker and simpler to detail. For a comparison of the two aluminium options, see ACP vs. solid aluminium cladding.
How it is built: the sequence
- Survey the wall and mark the bracket positions on a grid that suits the panels.
- Fix the anchors and test a sample of them in place, to confirm they hold.
- Install the water and air barrier, taping the junctions and laps so that it is continuous.
- Fix the brackets, then the insulation over them, tightly butted and mechanically held.
- Install the rails, aligned and levelled so that the panels will sit in one plane.
- Fit the cavity fire barriers and the base and top closures.
- Hang the panels, checking the joint widths and alignment as they go.
The order is not arbitrary. Once the panels are on, the barrier, the insulation, the brackets and the fire barriers are all hidden. That is why the inspection has to happen before the panels go up and not after.
Inspect it before it disappears
- The water barrier is continuous, lapped correctly and sealed around every penetration.
- Brackets are at the specified positions and fixed to the specified anchors, and the pull-out test results are on file.
- Insulation is tight against the wall, with no gaps and no board bulging into the cavity.
- The cavity is clear from base to top, with no mortar, debris or loose insulation in it.
- Fire barriers are in the right places, are fixed securely and still let water drain.
- Rails are aligned within the tolerance the panel supplier requires.
A few photographs of each stage, dated and located on the drawings, are worth far more than any description later. They show what is behind the panels when someone asks, years on, and they make it easier to find a problem without opening a wall.
Looking after a rain-screen
A rain-screen needs little maintenance, but it does need the cavity to stay open. Check that the openings at the base and the top are not blocked by plants, debris, paint or new services fixed across them. Clean the panels as the finish supplier recommends. If a panel is damaged, replace it promptly and look behind it: a gap in the screen lets rain reach the insulation directly.
Mistakes to avoid
- Treating the cavity as wasted space and closing it up to save depth.
- Letting insulation boards bulge into the cavity and block the air path.
- Forgetting the bottom and top openings, or covering them with a mesh that restricts flow.
- Using fire barriers that seal the cavity so tightly that water cannot drain.
- Choosing panels first and designing the sub-frame afterwards.
Questions to ask
- What is the cavity depth, and how is air allowed into it at the base and out at the top?
- Where are the fire barriers, and how do they allow drainage?
- What brackets are used, and are they thermally isolated?
- How were the anchors tested, and what tolerance does the sub-frame take up?
- Which panel and fixing combinations has the supplier built before?
Fenza builds rain-screen systems as a drained, back-ventilated outer skin on a thermally isolated aluminium carrier, with a cavity of 25 to 50 mm typically and mineral wool insulation to the specified thickness (indicative; confirmed per project). See Rain-Screen Ventilated Facade, or send us your elevations.
General guidance for orientation, not a specification. Applicable standards, values and details are confirmed per project with the facade consultant.