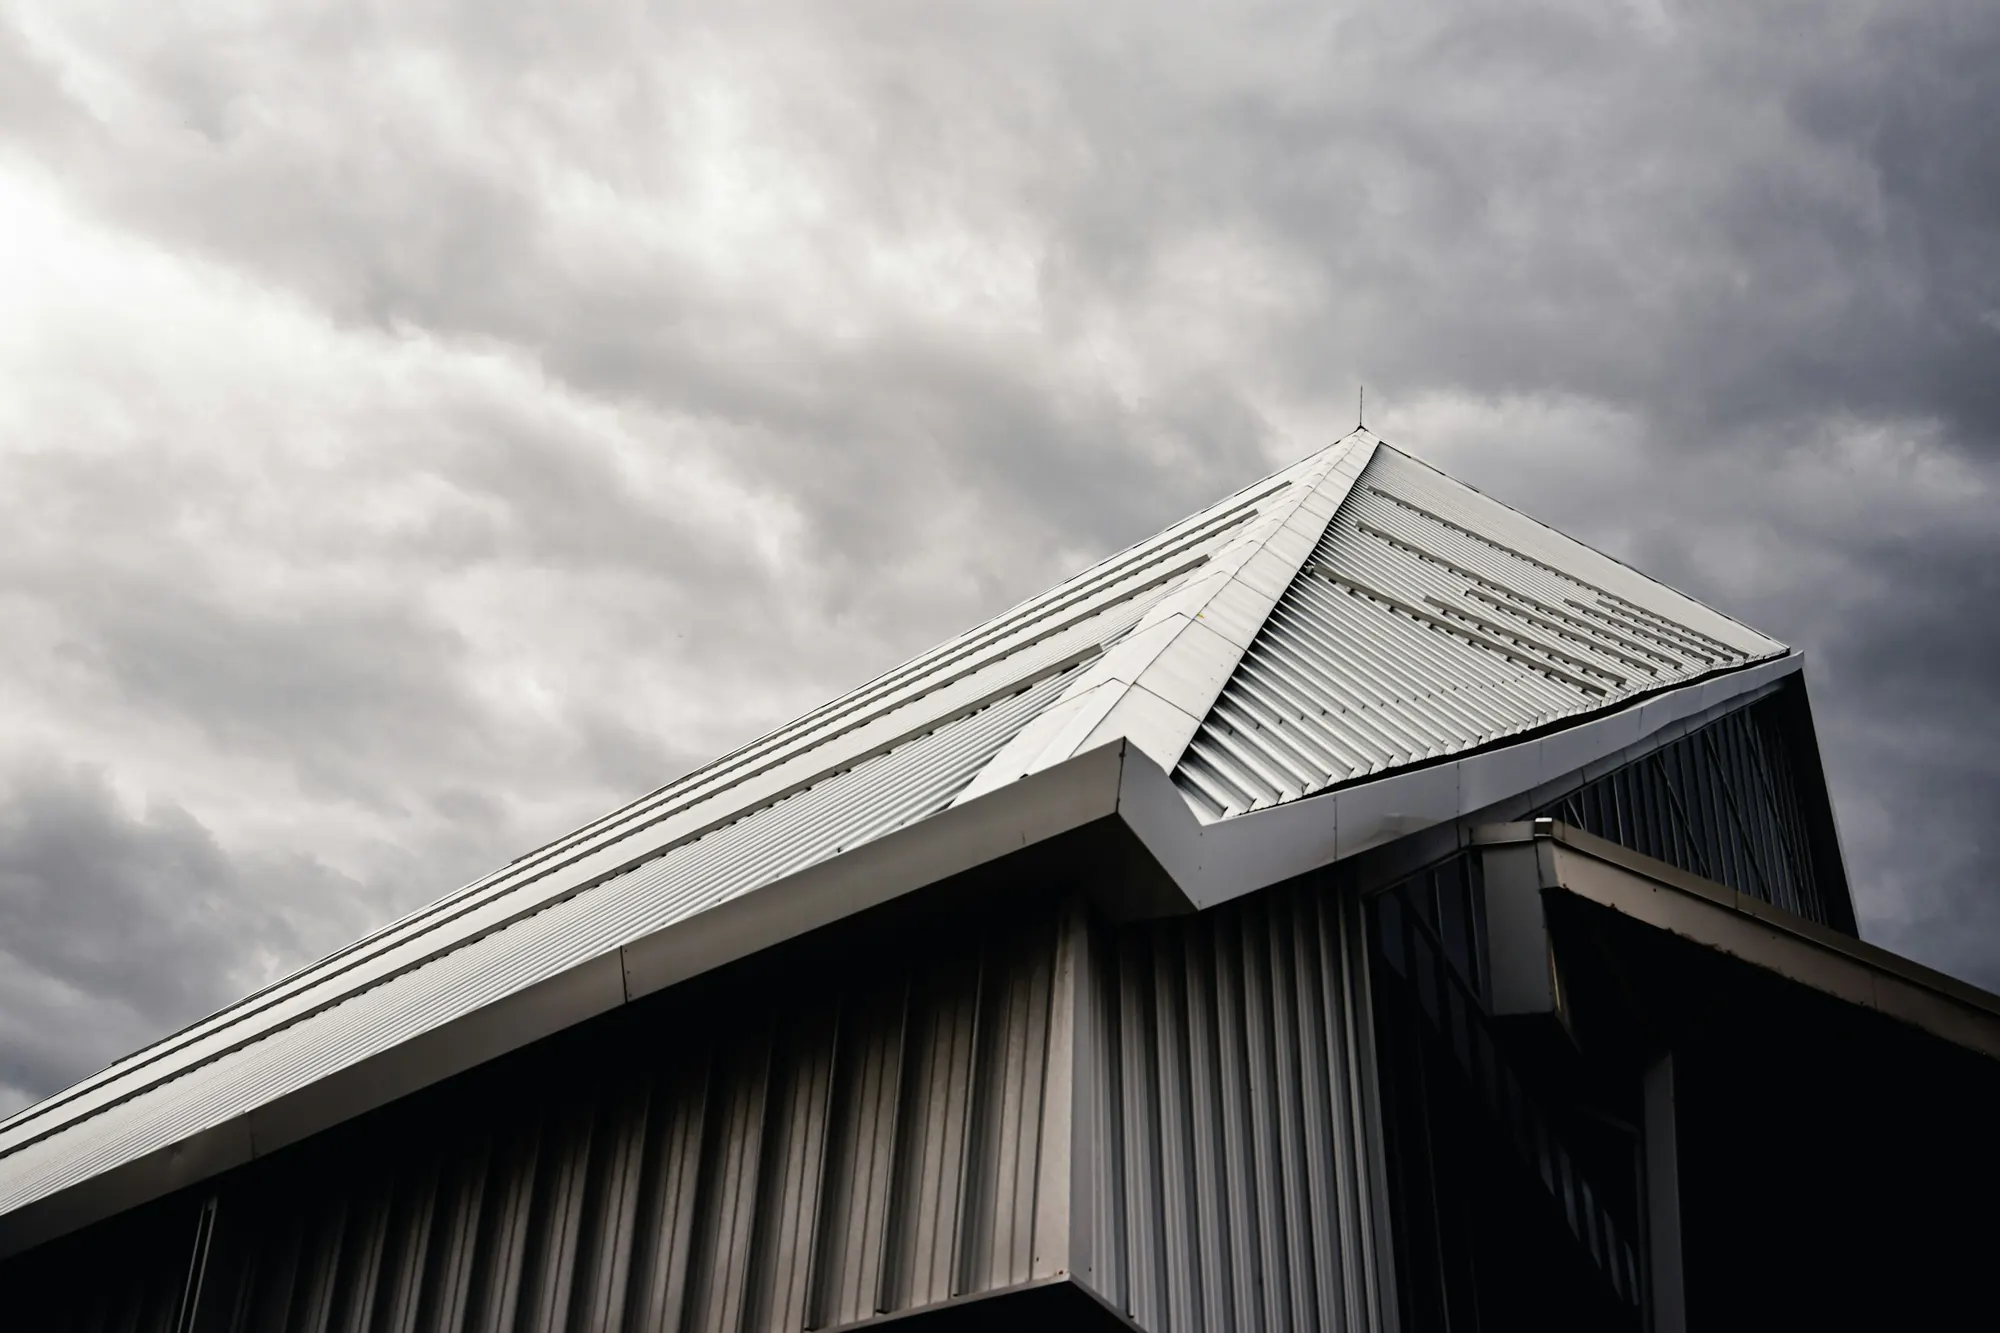
The top of a building takes weather from every direction. Rain falls on it, wind drives water up and over it, and the sun heats it more than any other part of the wall. It is also where two trades meet: the facade installer finishing the walls and the roofing contractor finishing the roof. When the line between them is unclear, the roof edge becomes a reliable source of leaks and streaks.
This guide looks at parapets, copings and roof edges from the facade side. It covers how the top of a clad or glazed wall is capped, drained and closed, and what to check on drawings and on site. Roof waterproofing itself is a separate specialism, but its junction with the facade has to be designed by both parties together.
Why the roof edge is a facade problem
A parapet is a short wall that rises above the roof. On many buildings its outer face is clad to match the rest of the facade, so the cladding, its supports and its cavity all have to stop somewhere neat at the top. Without a parapet, the facade still has to finish against an eaves, gutter or roof upstand.
Either way, the top edge is a horizontal surface in a mostly vertical system. Vertical surfaces shed water easily; horizontal ones collect it. Any water that gets past the top can travel down inside the wall for several floors before it appears, which makes roof-edge leaks hard to trace. Getting this detail right at the design stage saves a great deal of investigation later.
What a coping actually does
A coping is the cap over the top of the parapet. It covers the head of the wall, laps down over both faces, and throws water clear. On clad buildings it is often formed from folded aluminium sheet, finished to match or contrast with the facade. Stone, precast and other materials are also used, but the principles are the same.
- Shed rain: a fall across the top so water does not sit on it.
- Throw water clear: drips on both faces so water leaves the edge instead of running back underneath.
- Cover the wall: laps deep enough to protect the top of the cladding and its supports.
- Allow movement: joints between lengths that let the metal expand and contract.
- Stay put: concealed fixings or clips that resist wind uplift without holes through the top surface.
Each of these is easy to lose during value engineering or site improvisation. A flat coping with no drips may look crisp on a render, but it will stain the wall below within a few monsoons.

Falls, drips and where dirty water goes
Water running off a roof edge carries dust and pollution. If it runs down the face of the cladding, it leaves the familiar dark streaks below every coping joint and corner. Most designs therefore slope the coping towards the roof, so the dirty water drains into the roof's own outlets. Where it must fall outwards, a clear drip and gap keep it off the face.
The minimum fall and the drip geometry are set on the drawings for each project. Check them at corners and changes of level, where folded pieces meet and the fall is easily lost. A coping that is level in one place and backfalls in another will hold water in a small pool, which over time finds a way through the nearest joint.
The coping width matters too. If the laps are too short, wind-driven rain can be pushed up under the edge and into the top of the wall. If the coping is much wider than the wall, it may need intermediate support so it does not sag and form a dip. The drawings should show the overlap on each face and how the coping is supported across its width.
Joints along a long coping
Metal copings expand and contract with temperature, and a long run in strong sun moves noticeably over a day. Lengths are therefore joined with gaps rather than butted tight. Each joint needs a way to stay watertight while it moves: a backing strip or splice plate beneath, and often a sealant joint designed for the expected movement.
The common failure is a joint sealed as a thin surface bead with no backing and no allowance for movement. It cracks, water enters, and the splice beneath is the only remaining defence. Align coping joints with the building's movement joints where they pass through the parapet. The article on movement joints in facades explains why that alignment matters.
Closing the top of a rain-screen cavity
A rain-screen facade relies on a ventilated cavity behind the panels. Air enters at the bottom, moves up, and leaves at the top, carrying moisture with it. If the coping seals the top of the cavity tight, that airflow stops and the cavity can stay damp. If the top is left wide open, rain can blow straight in.
The usual answer is a coping or closure that overhangs the cavity with a protected gap or vented section, so air can escape but driven rain cannot enter directly. Any cavity barriers required near the top are coordinated with this ventilation path. The guide to rain-screen cladding covers the cavity in more detail, and the rain-screen facade page describes the system as a whole.
Meeting the roof waterproofing
On the roof side, the waterproofing membrane normally turns up the inner face of the parapet. The coping must lap over the top of that upstand so water cannot get behind it. If the coping is installed first and the roofer arrives later, the upstand may finish short or be tucked behind fixings, leaving a gap that no one owns.
Agree the sequence and the overlap on one drawing that both trades sign off. Show the height of the upstand, how it is terminated, how far the coping laps over it, and where any roof outlet or overflow passes through the parapet. Outlets through the parapet need their own sleeve and flashing detail so water does not enter the cladding cavity around them.
Glass parapets and roof terraces
Some buildings continue the glazing above roof level, either as a glazed parapet or as a curtain wall that extends to screen plant or a terrace. The top of the glass then needs a cap that drains, the frames need to resist wind from both sides, and the junction with the roof deck needs the same careful upstand as a solid parapet.
Where people use the roof, the parapet may also act as a guard. Its height and loads then come from the applicable code, and a glass guard is detailed like a balustrade. The article on glass balustrades lists what to check.
Fixings, drawings and site checks
Copings and parapet cladding are pulled hard by wind at the roof edge, where suction is often stronger than lower down the wall. Fixings should be designed for the project's wind load, not copied from a lower floor. Brackets supporting the top row of cladding need the same care. The guide to brackets and fasteners explains what to ask.
On the shop drawings, look for a dedicated roof-edge section at every typical condition: straight runs, internal and external corners, changes of height, outlets and movement joints. On site, inspect the first completed length before the rest is installed. Check the fall with a level, look for drips on both faces, confirm joints have backing, and verify the overlap with the roof upstand.
Once the building is occupied, the roof edge is easy to forget because few people see it. Include it in the regular facade inspection: look for open coping joints, loose fixings, blocked outlets and new streaks on the cladding below. Plant installers and signage contractors often drill into parapets years after handover, so any later penetration should be approved and sealed to a reviewed detail. The facade maintenance checklist covers this kind of routine.
General guidance for orientation, not a specification. Applicable standards, values and details are confirmed per project with the facade consultant.